Thursday, July 31, 2014

Top 8 LG G3 camera tips and tricks By: Andrew Martonik

The G3 has a pretty great camera, but here are a few tips to make the most of it

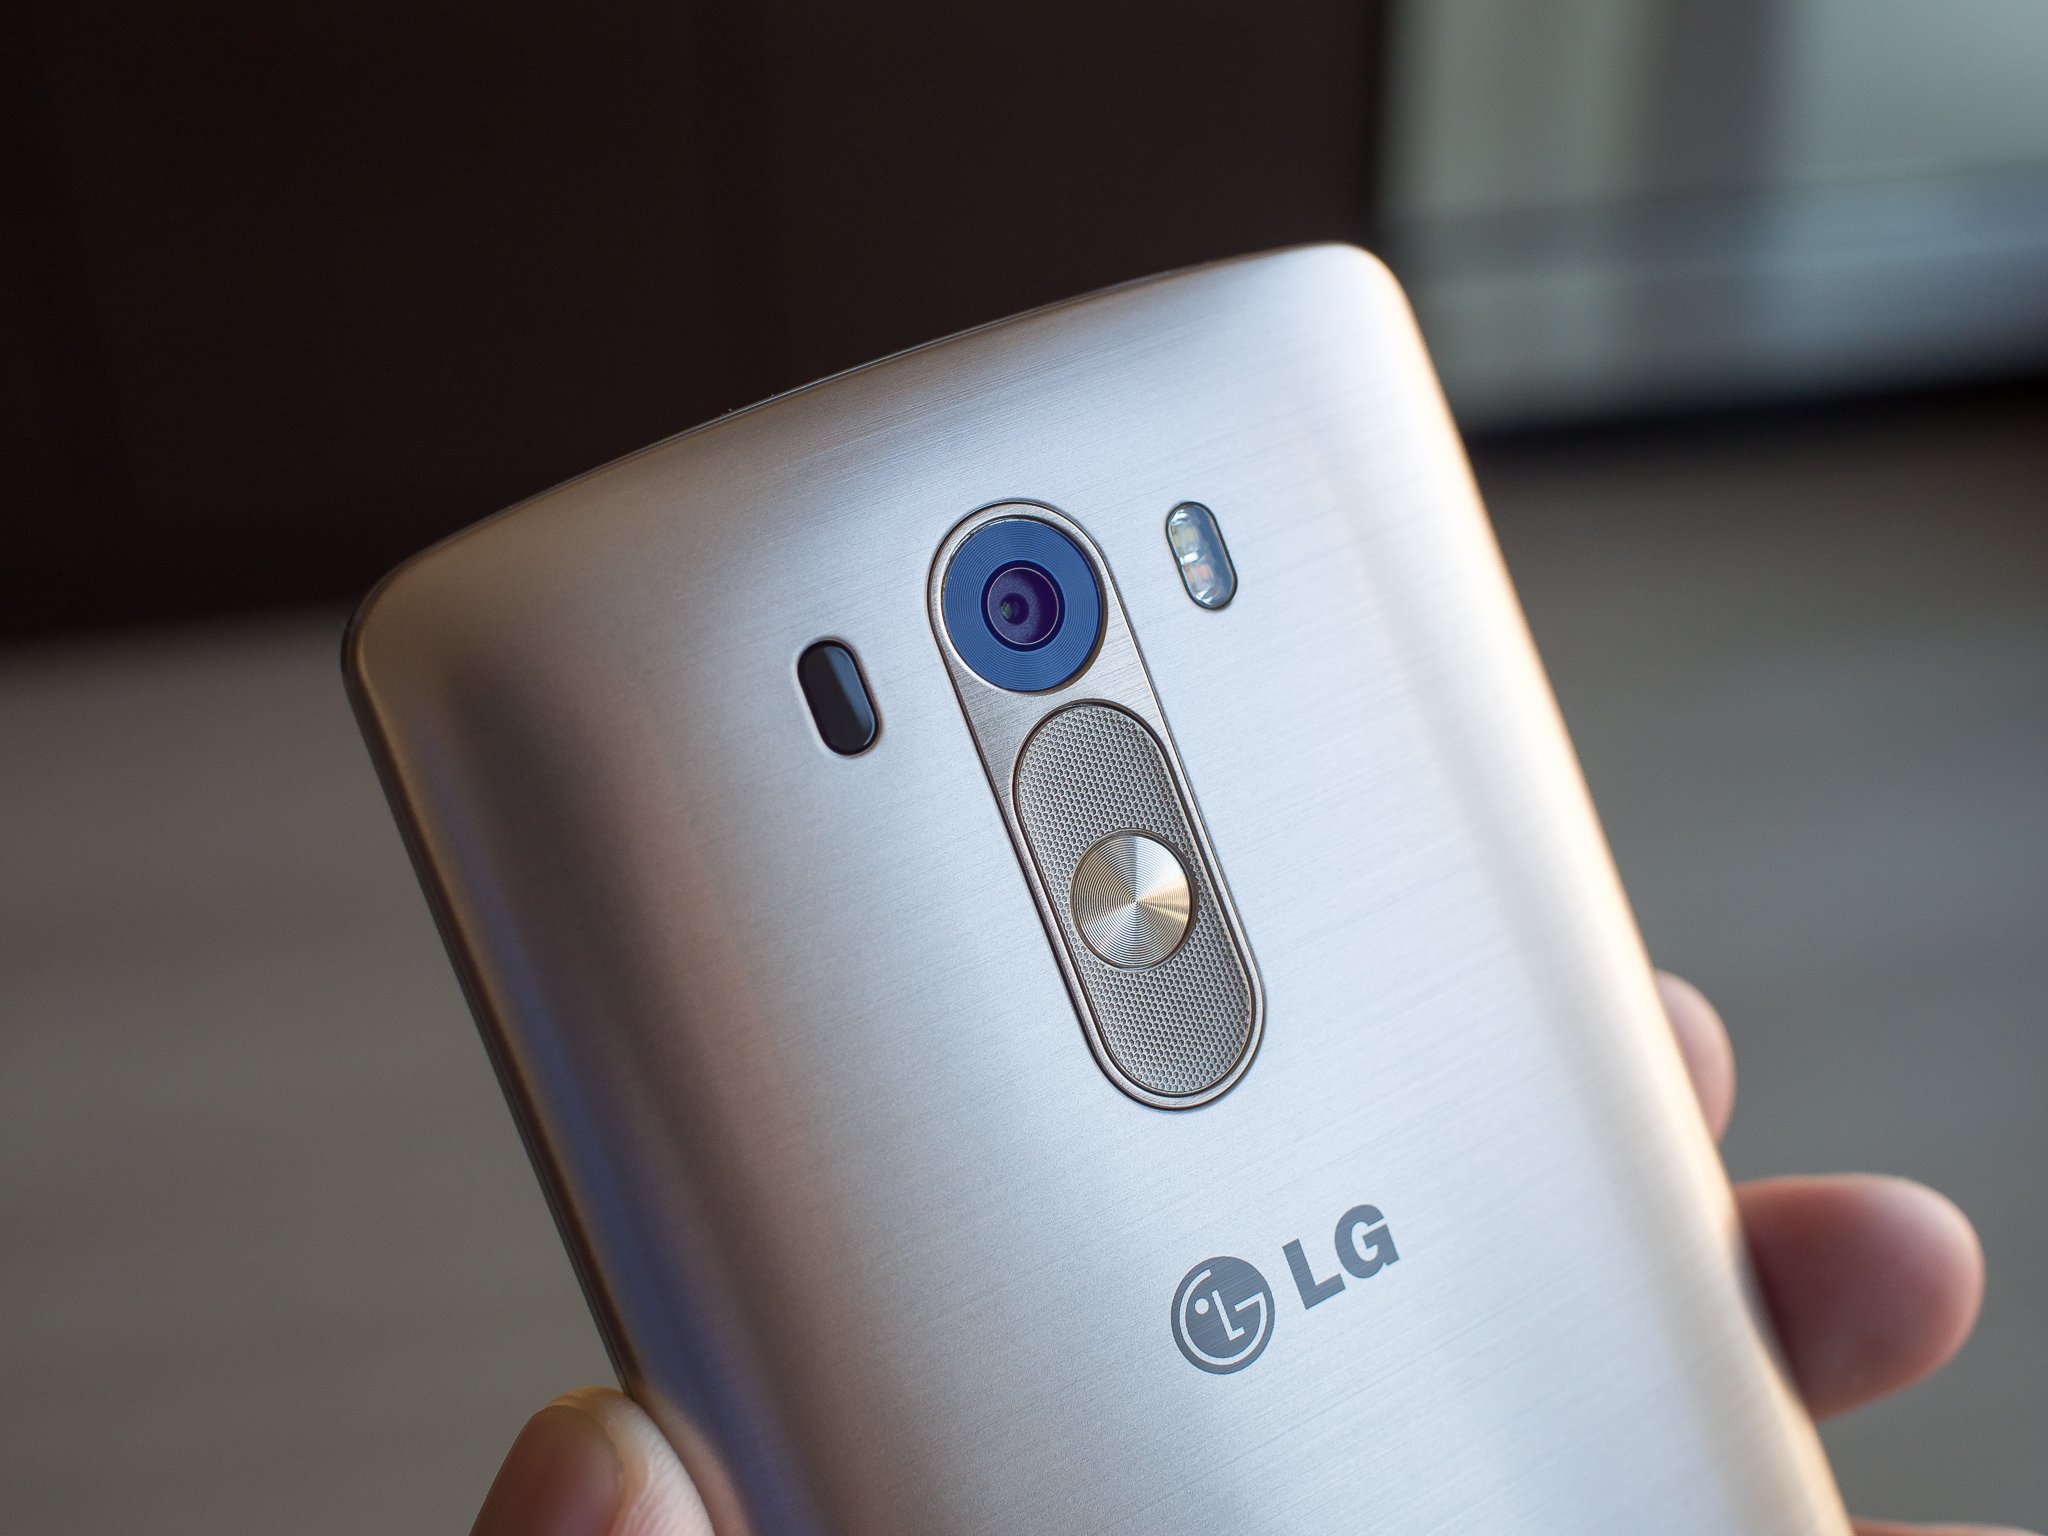
The LG G3 has received plenty of credit for its fantastic camera. From general image quality to laser focusing and UHD video, this phone can do just about anything you want it to in the imaging department. When you first launch the camera not every feature will be immediately apparent to you, though — we're here to help with that.
Read along and see the top eight tips and tricks for making the most of your LG G3's camera.

1. Launch the camera with the volume button

LG G3 Camera
When something happens and you need to launch your camera quickly, the fastest way to do it may be to hold down the volume down button on the back of the G3. When the screen is off, just a two-second hold on the button and your phone will vibrate, then launch the camera. You'll up and shooting in short order.

2. Add a real shutter key

LG G3 Camera shutter key
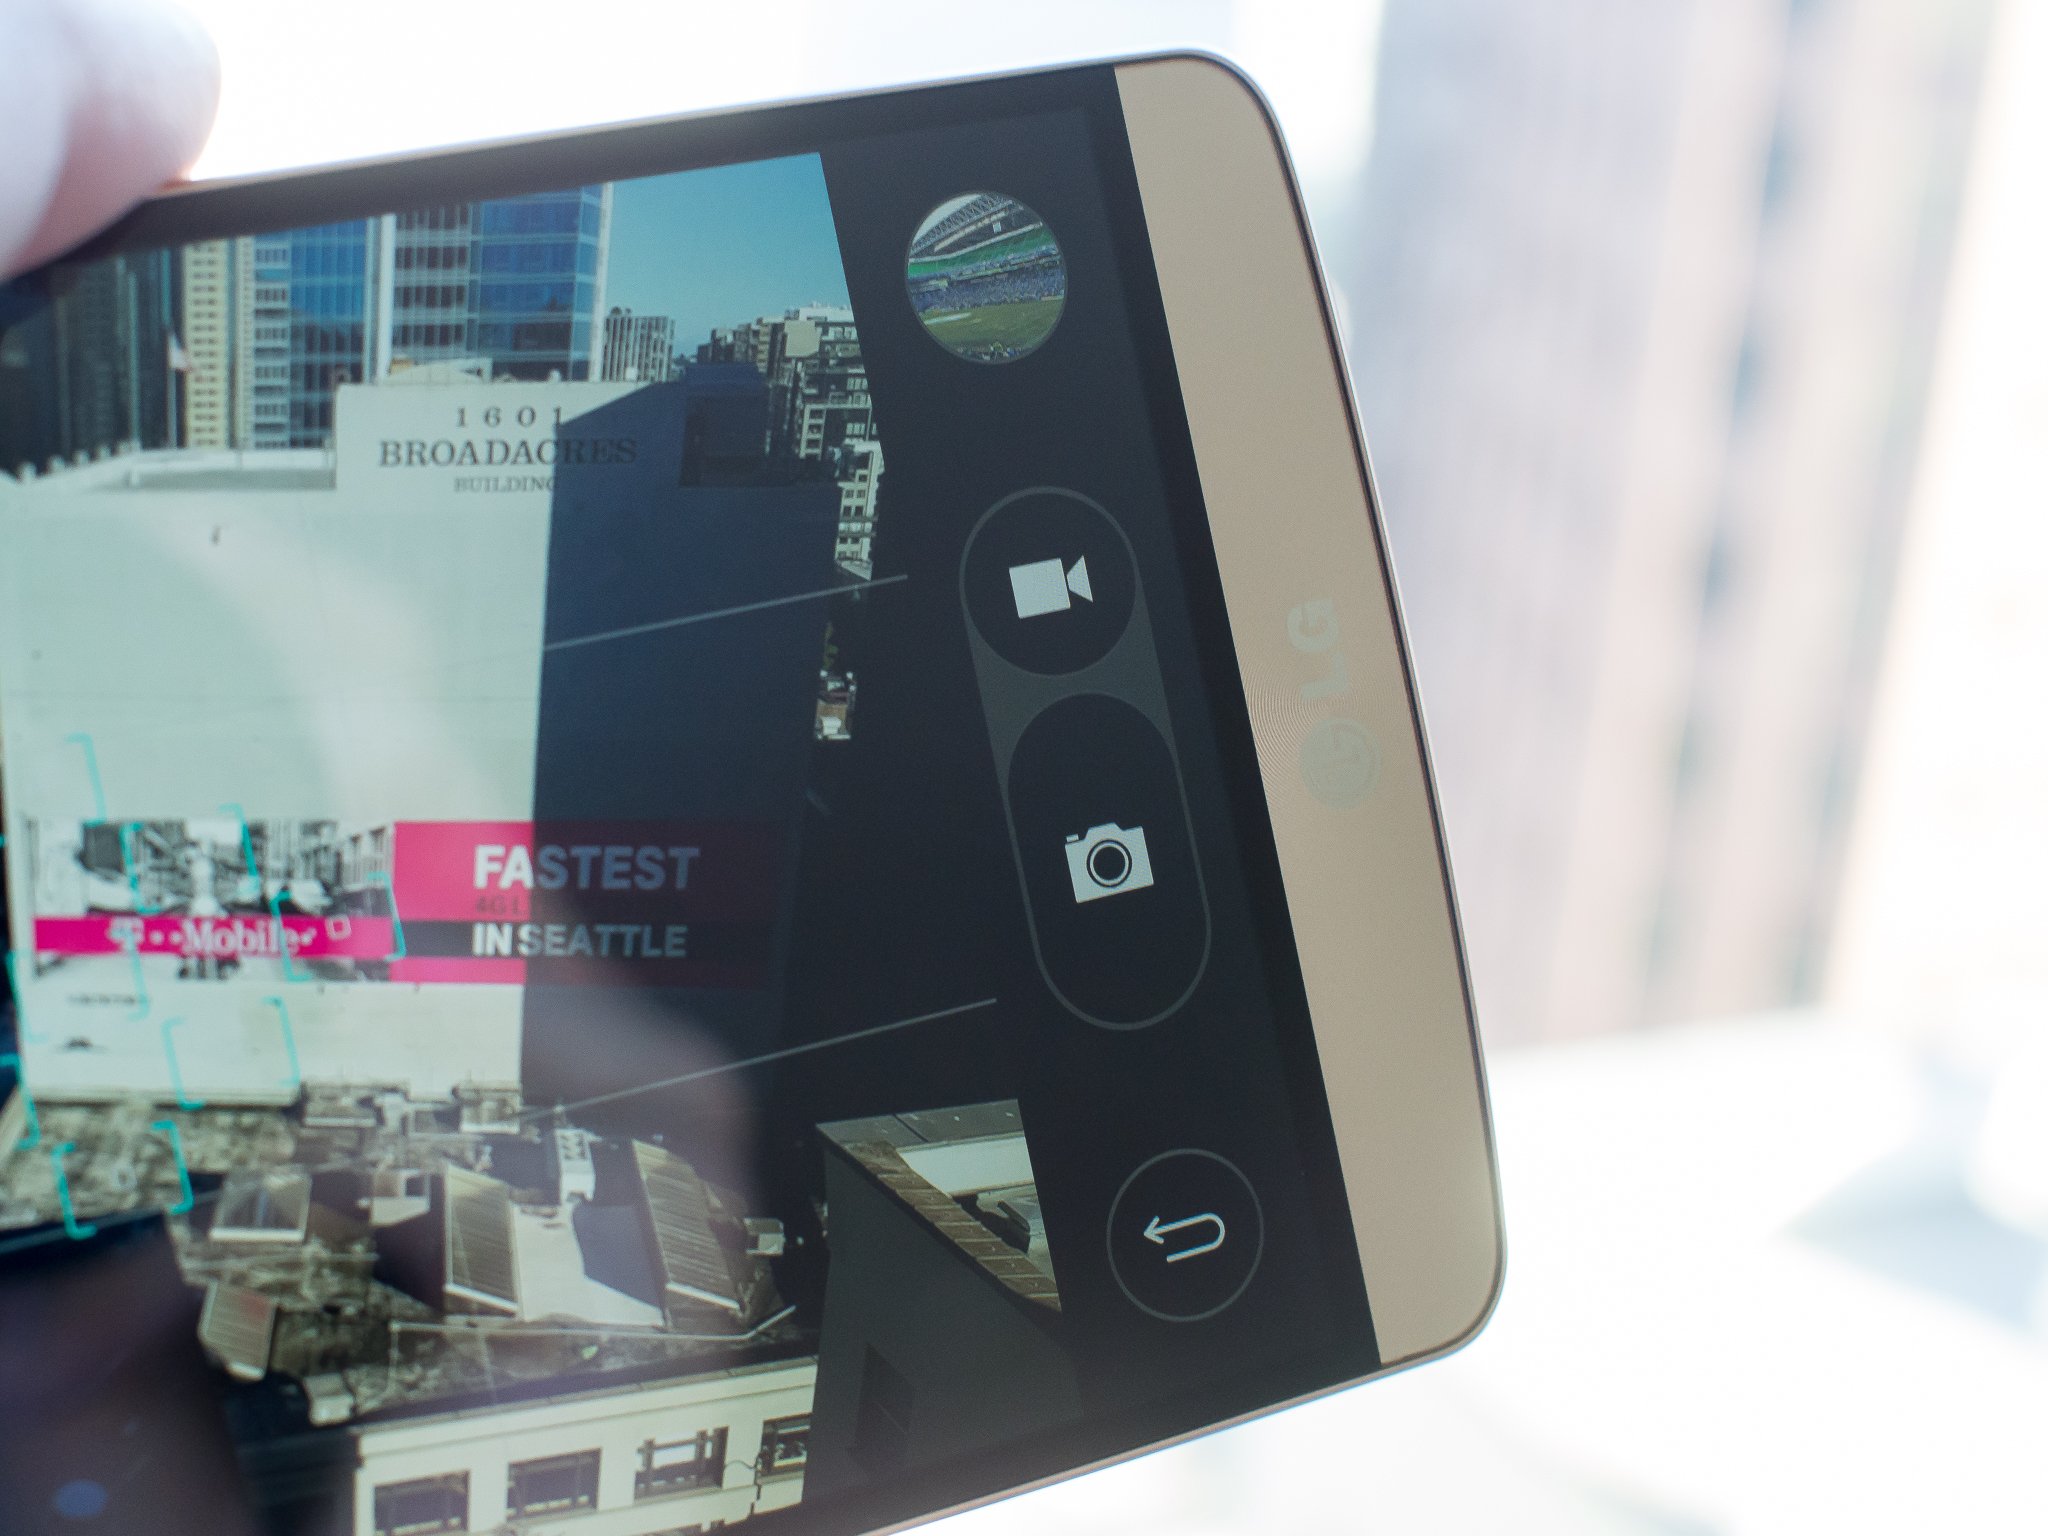
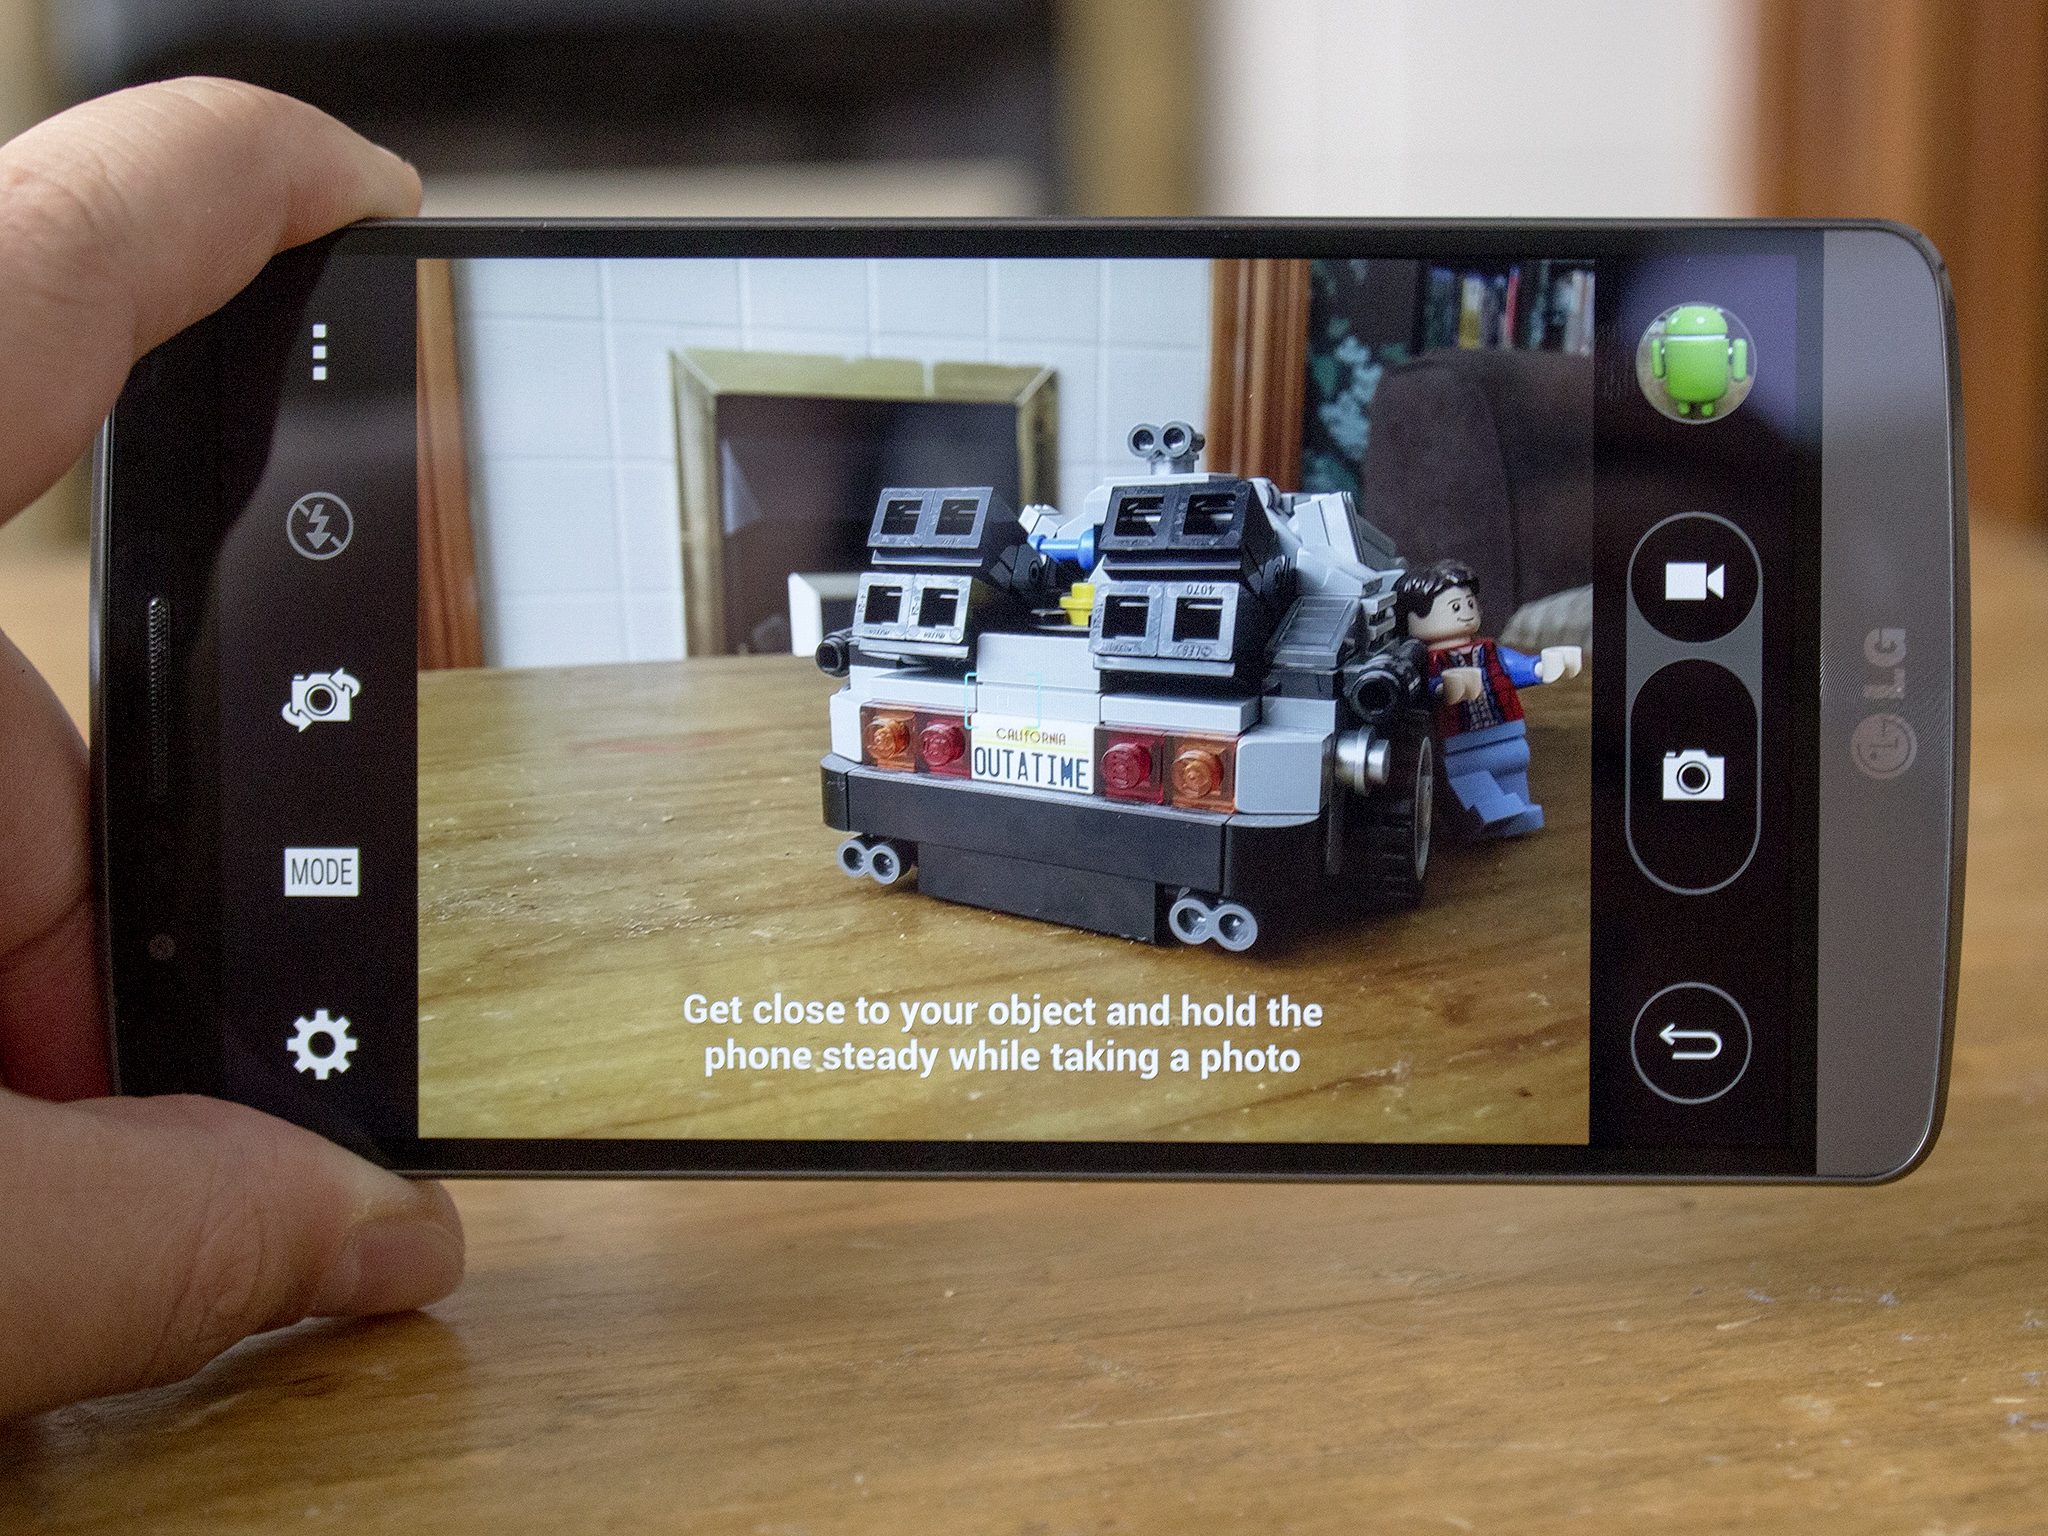
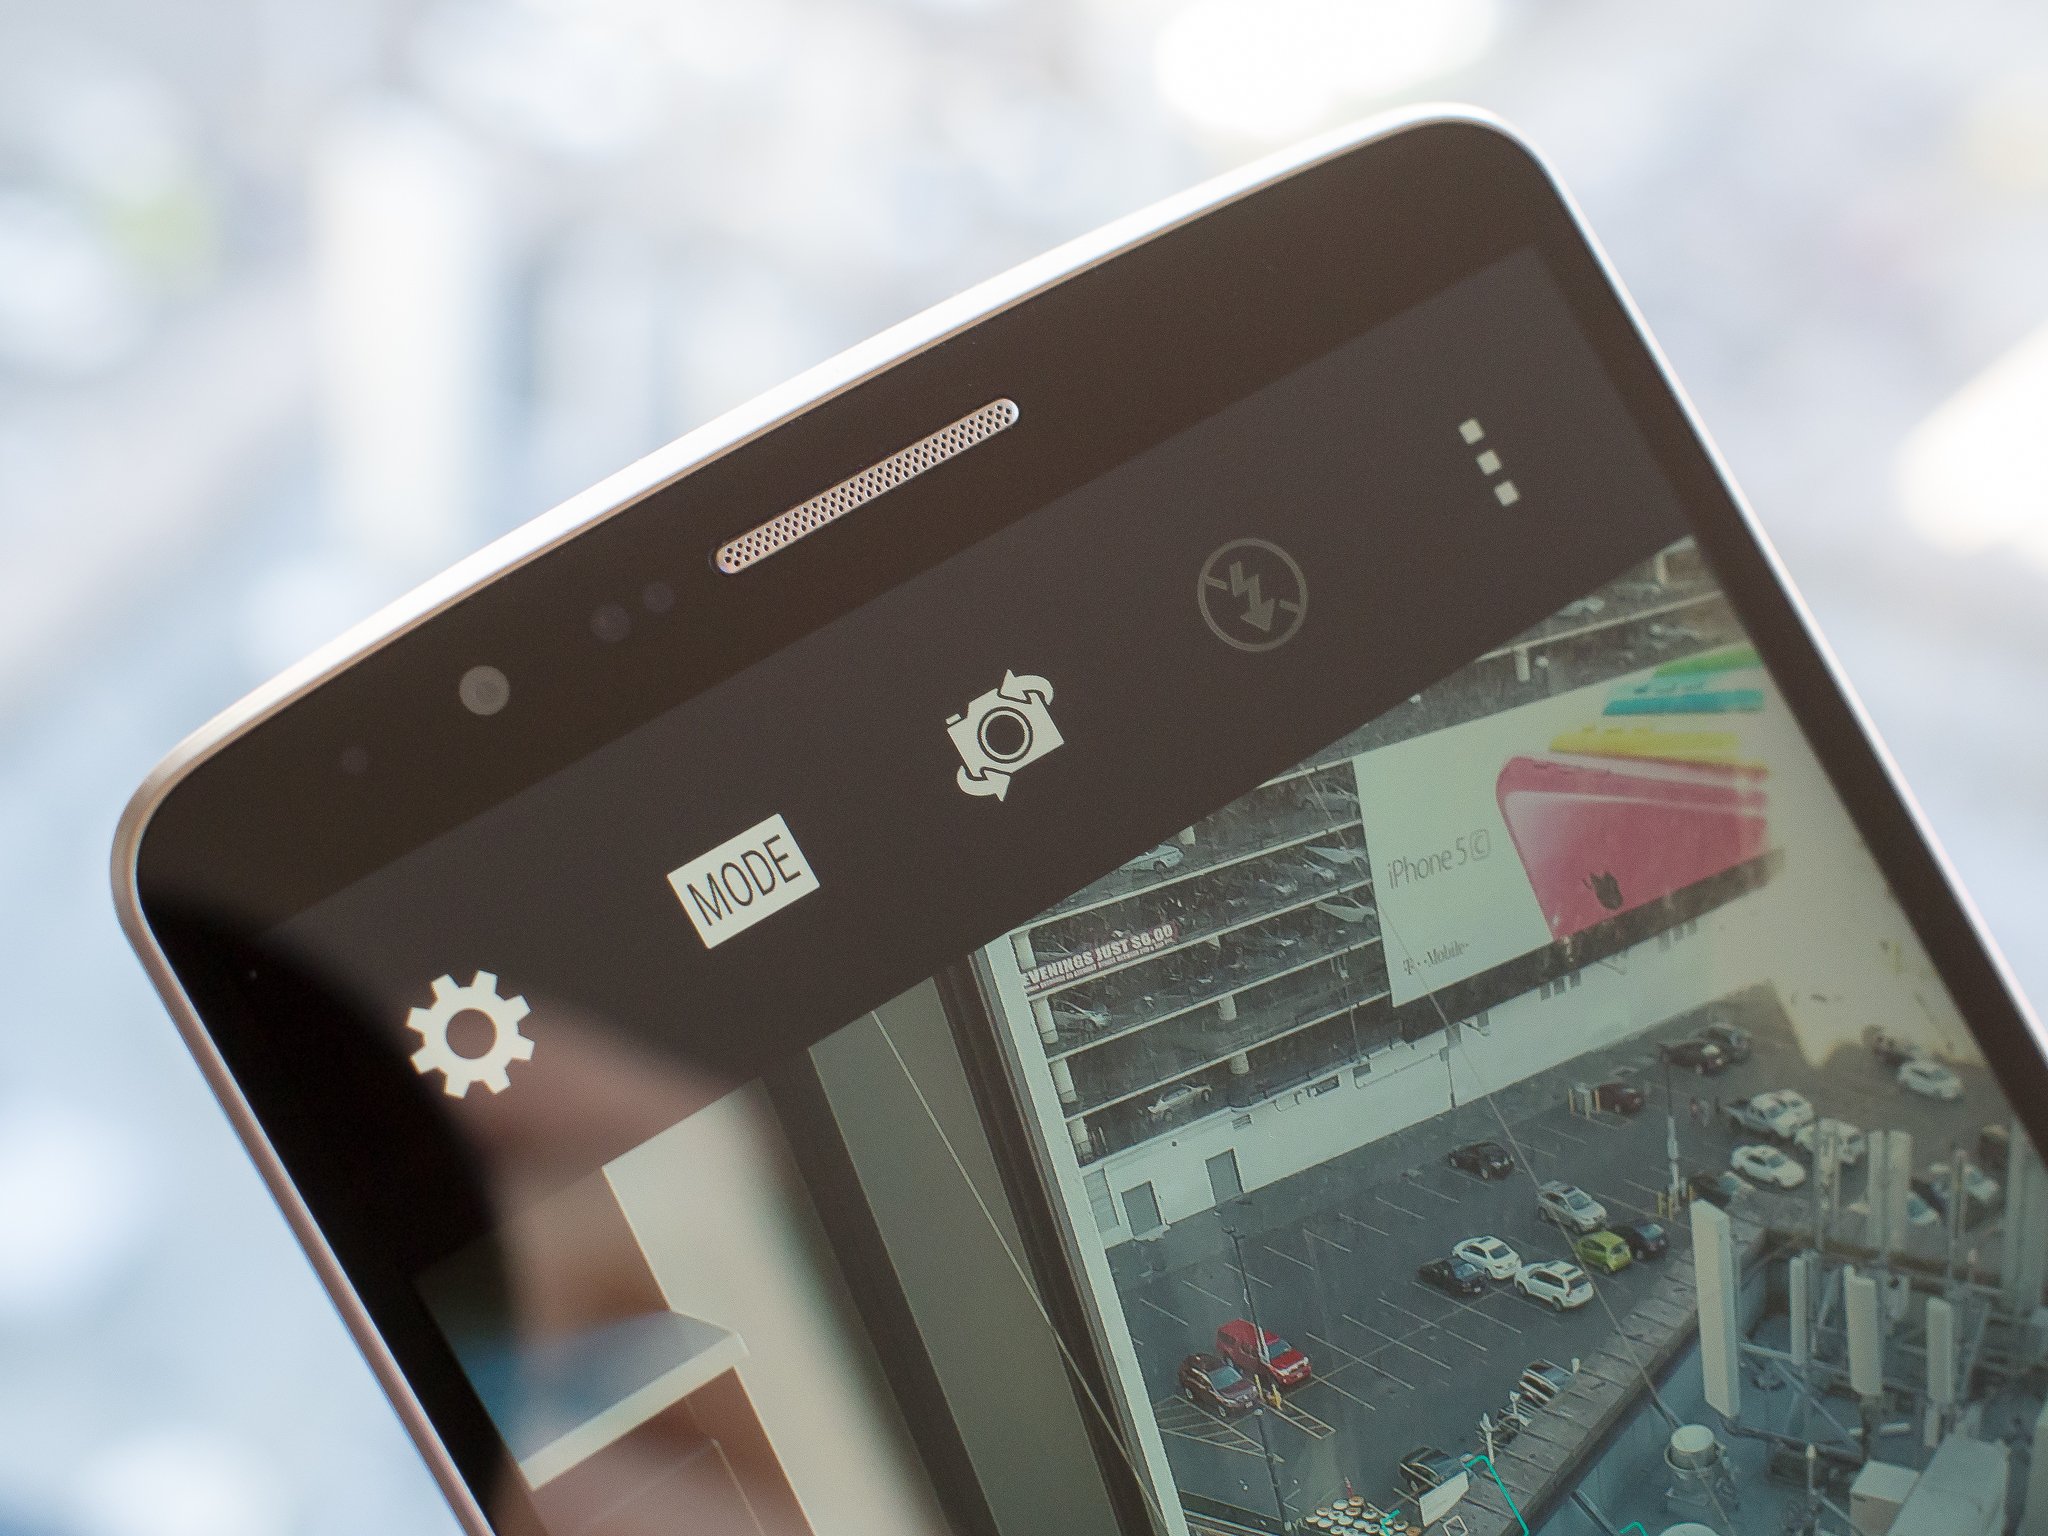
When you first open up your LG G3's camera you may notice something — well, everything — missing from a standard viewfinder. By default, LG has hidden all non-essential controls in order to make it easy to open the camera and snap a picture, but sometimes you want more control.

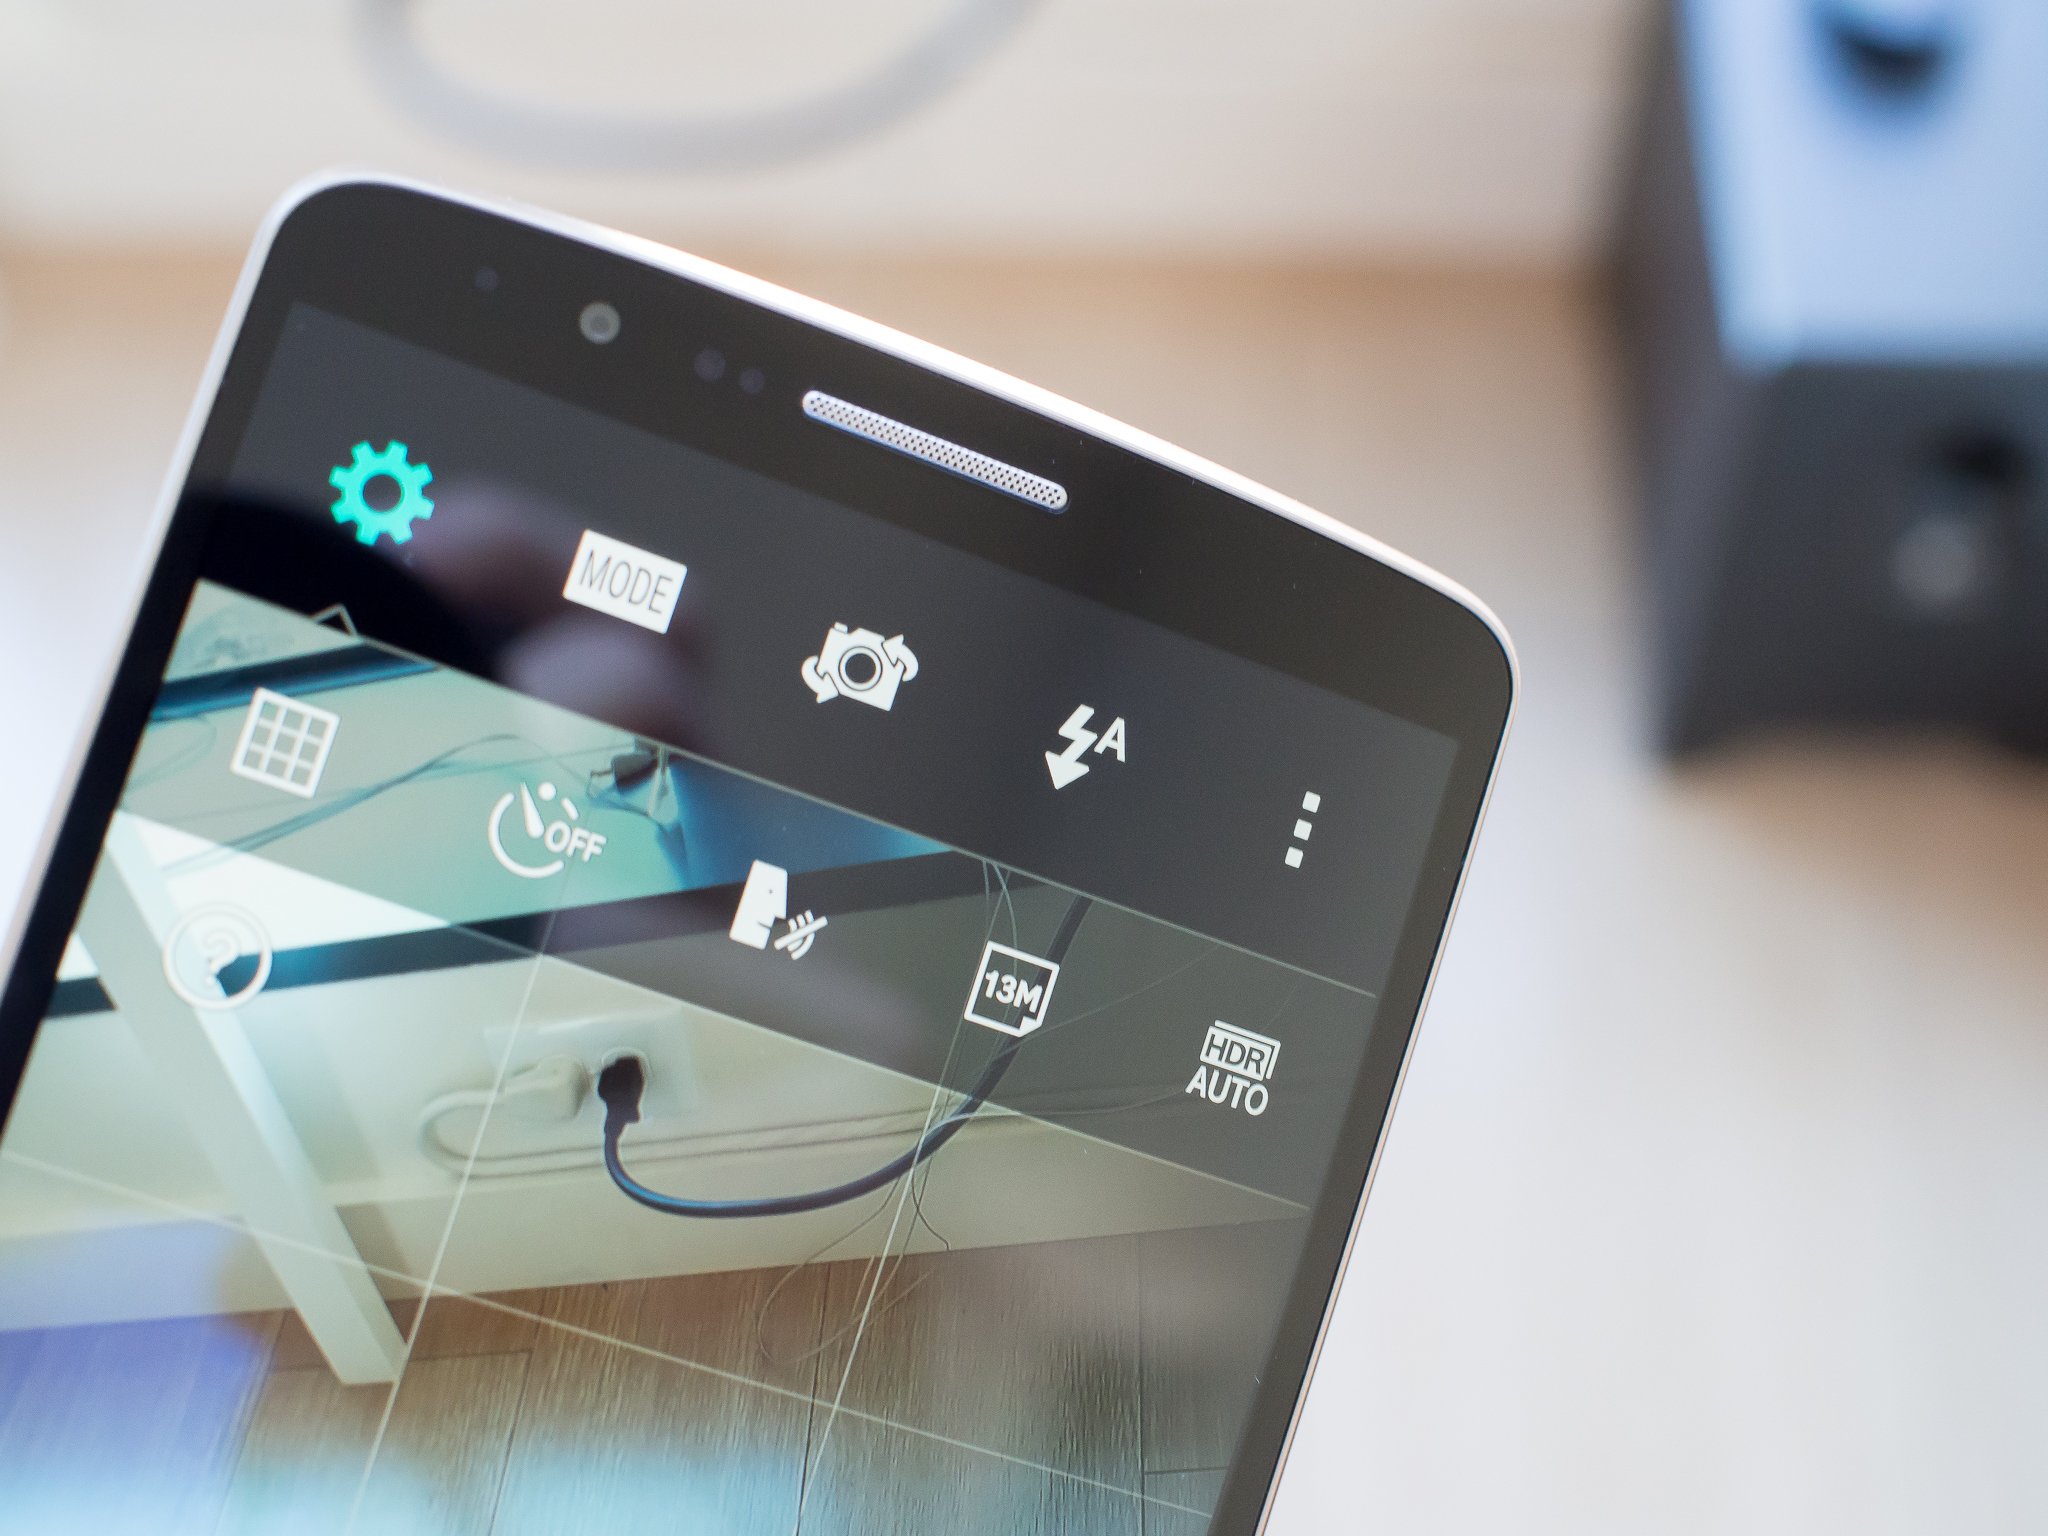
3.The most important settings

LG G3 Camera settings
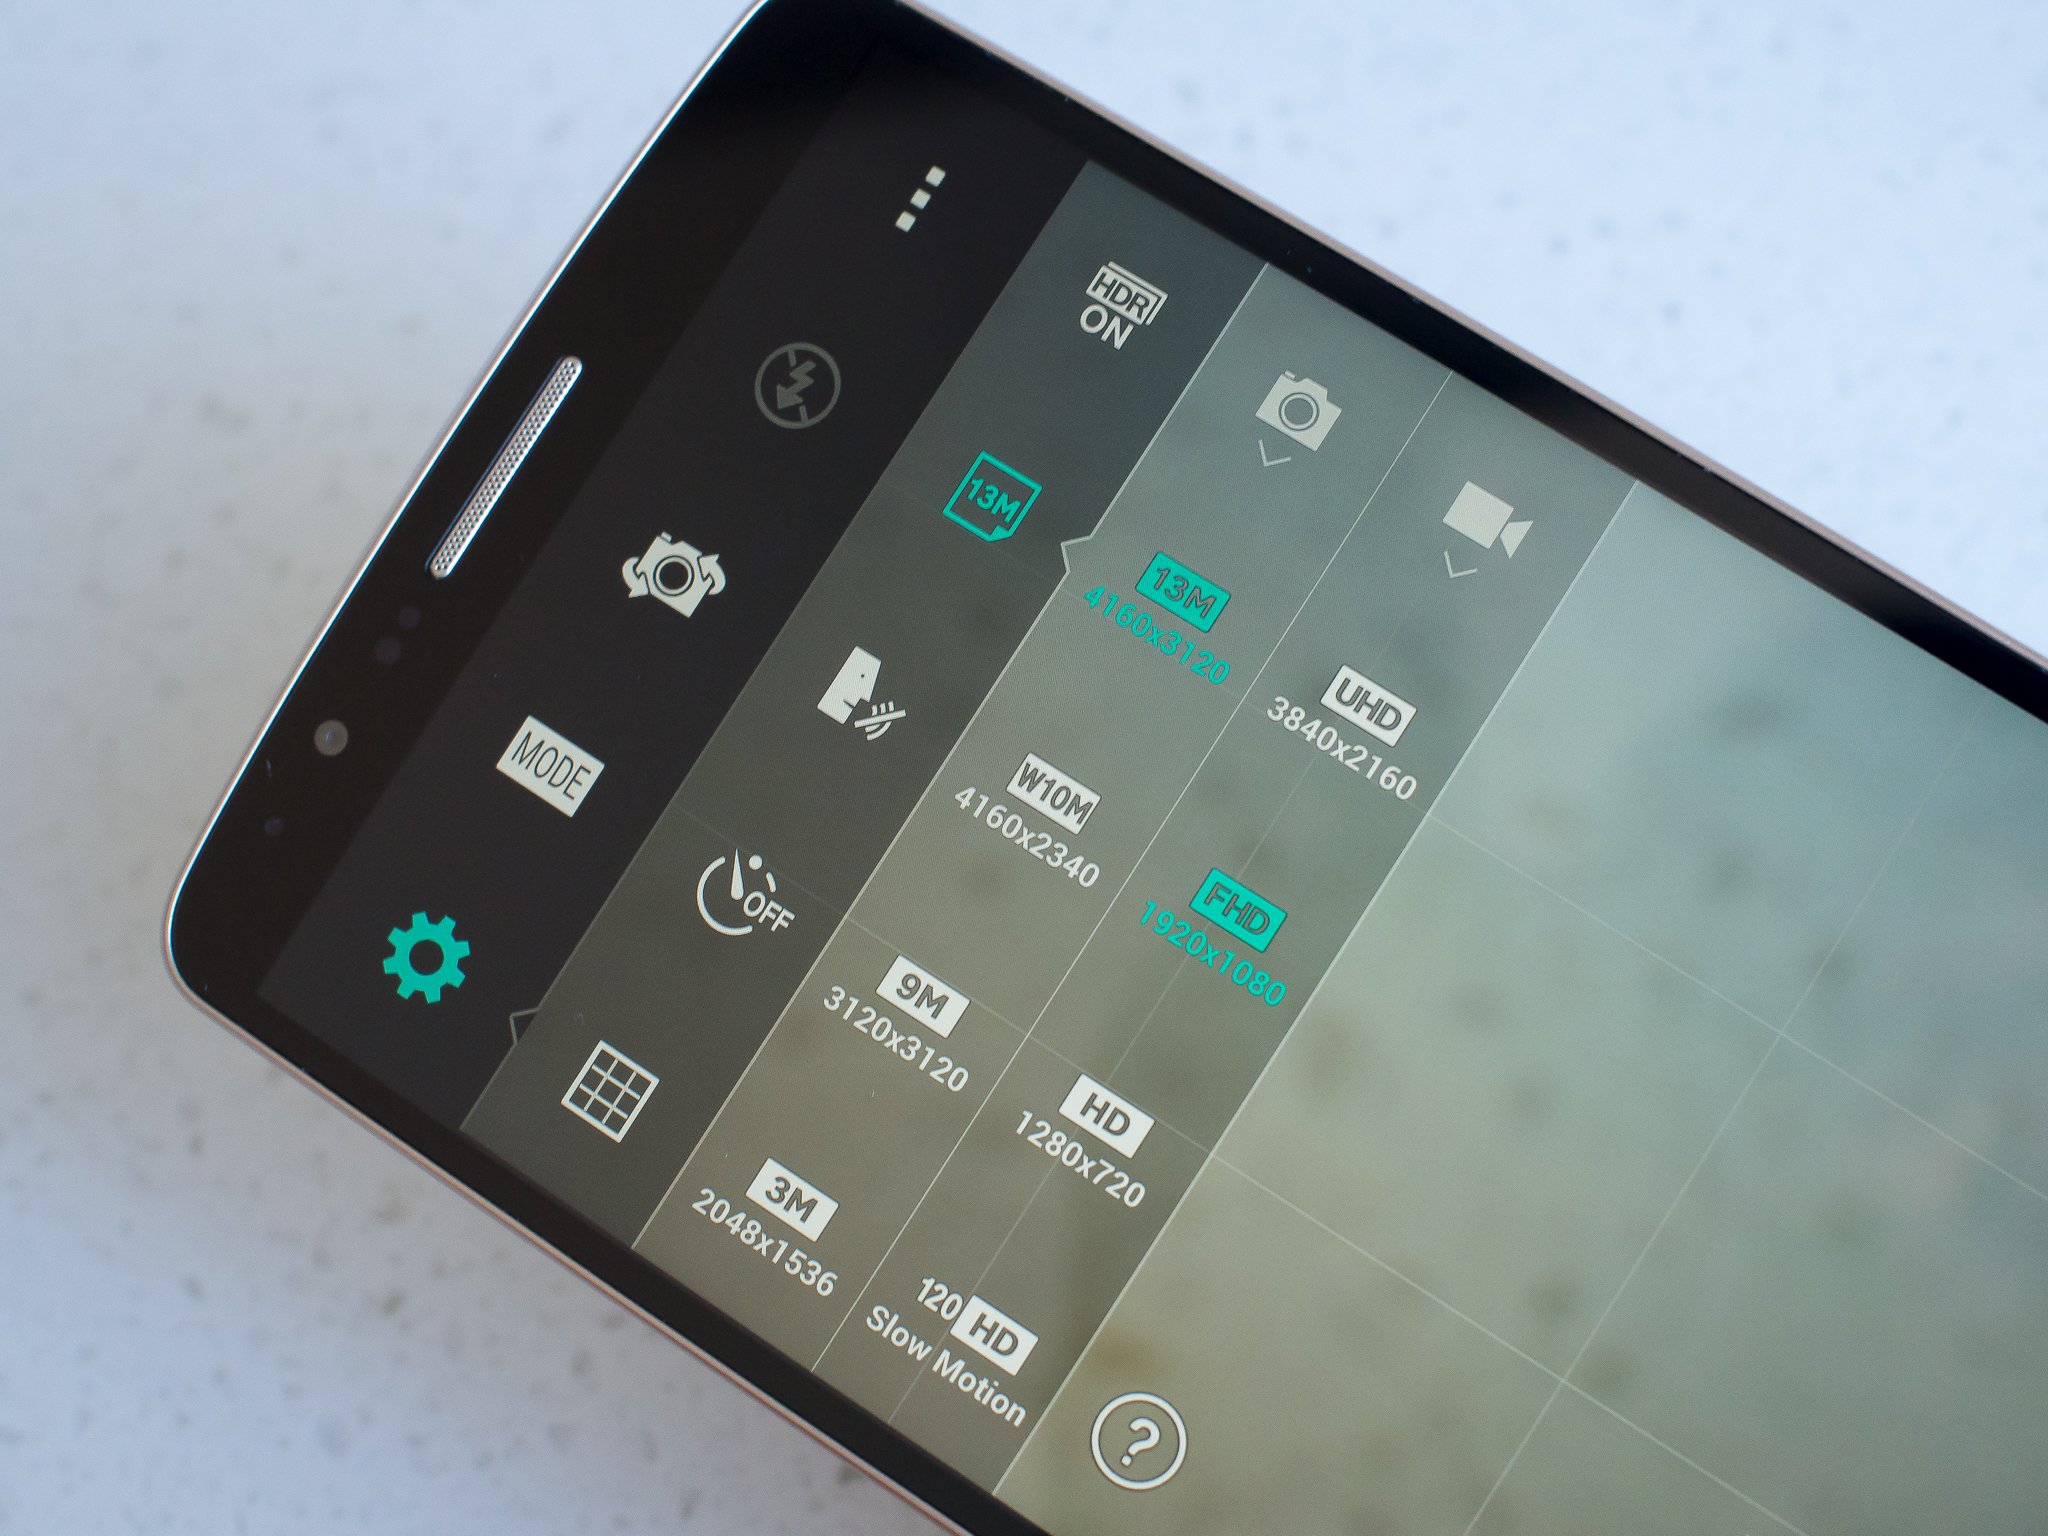
Hitting the settings gear will reveal a few quick settings that you should know about. In this menu you can toggle grid lines, the shot timer, voice-activated shutter and HDR modes, as well as select video and photo quality.
You'll likely want to select the highest possible resolution for your photos, but choose between W10M (wide) and 13M (standard) aspect ratios based on what you prefer. Video is 1080p by default, but you can bump that to UHD (3840 x 2160) if you want to show off crazy-high resolution videos.
As for HDR (High Dynamic Range), most people will want to just leave their G3 on "HDR Auto" mode, where the phone will choose whether it needs to use the multiple-exposure HDR more to brighten up the picture or not. In bright daylight scenes you'll get the fast capture times of non-HDR shots, and in lower light situations you'll get the punchy colors and reduced grain of full-on HDR.

4. Switch between shooting modes

LG G3 Magic Focus
The G3 offers a few different shooting modes to choose from, which you can find behind the "mode" button next to the settings gear. "Dual" gives you a picture-in-picture style shot with both cameras, Panorama lets you shoot ultra-wide sweeping shots, Magic Focus will let you choose where you want to sharpen a shot after the fact and of course Auto will do everything for you.

5. Quickly switch to the front-facing camera

LG G3 Camera switch
You may think it's simple to toggle between the front and rear cameras — just tap the overflow button to show the interface, then reach up and hit the camera toggle button. But there's an easier way: simply swipe across the viewfinder in any direction and the phone will switch to the other camera. Swipe again at any time, and you'll switch back again.

6. Manage the flash

LG G3 Camera flash
There are three flash modes on the LG G3's camera — auto, on and off — to choose from. Each works just like you'd expect, and most folks will opt to leave it on auto. You can toggle between the three modes with the flash button between the menu and camera switch buttons.
You'll also notice that the flash is not available when you're using HDR, which adds extra light on its own using multiple exposures. If it's particularly dark and you need to add extra light, switch to another shooting mode to turn the flash on.

7. Shoot in burst mode

LG G3 Camera burst mode
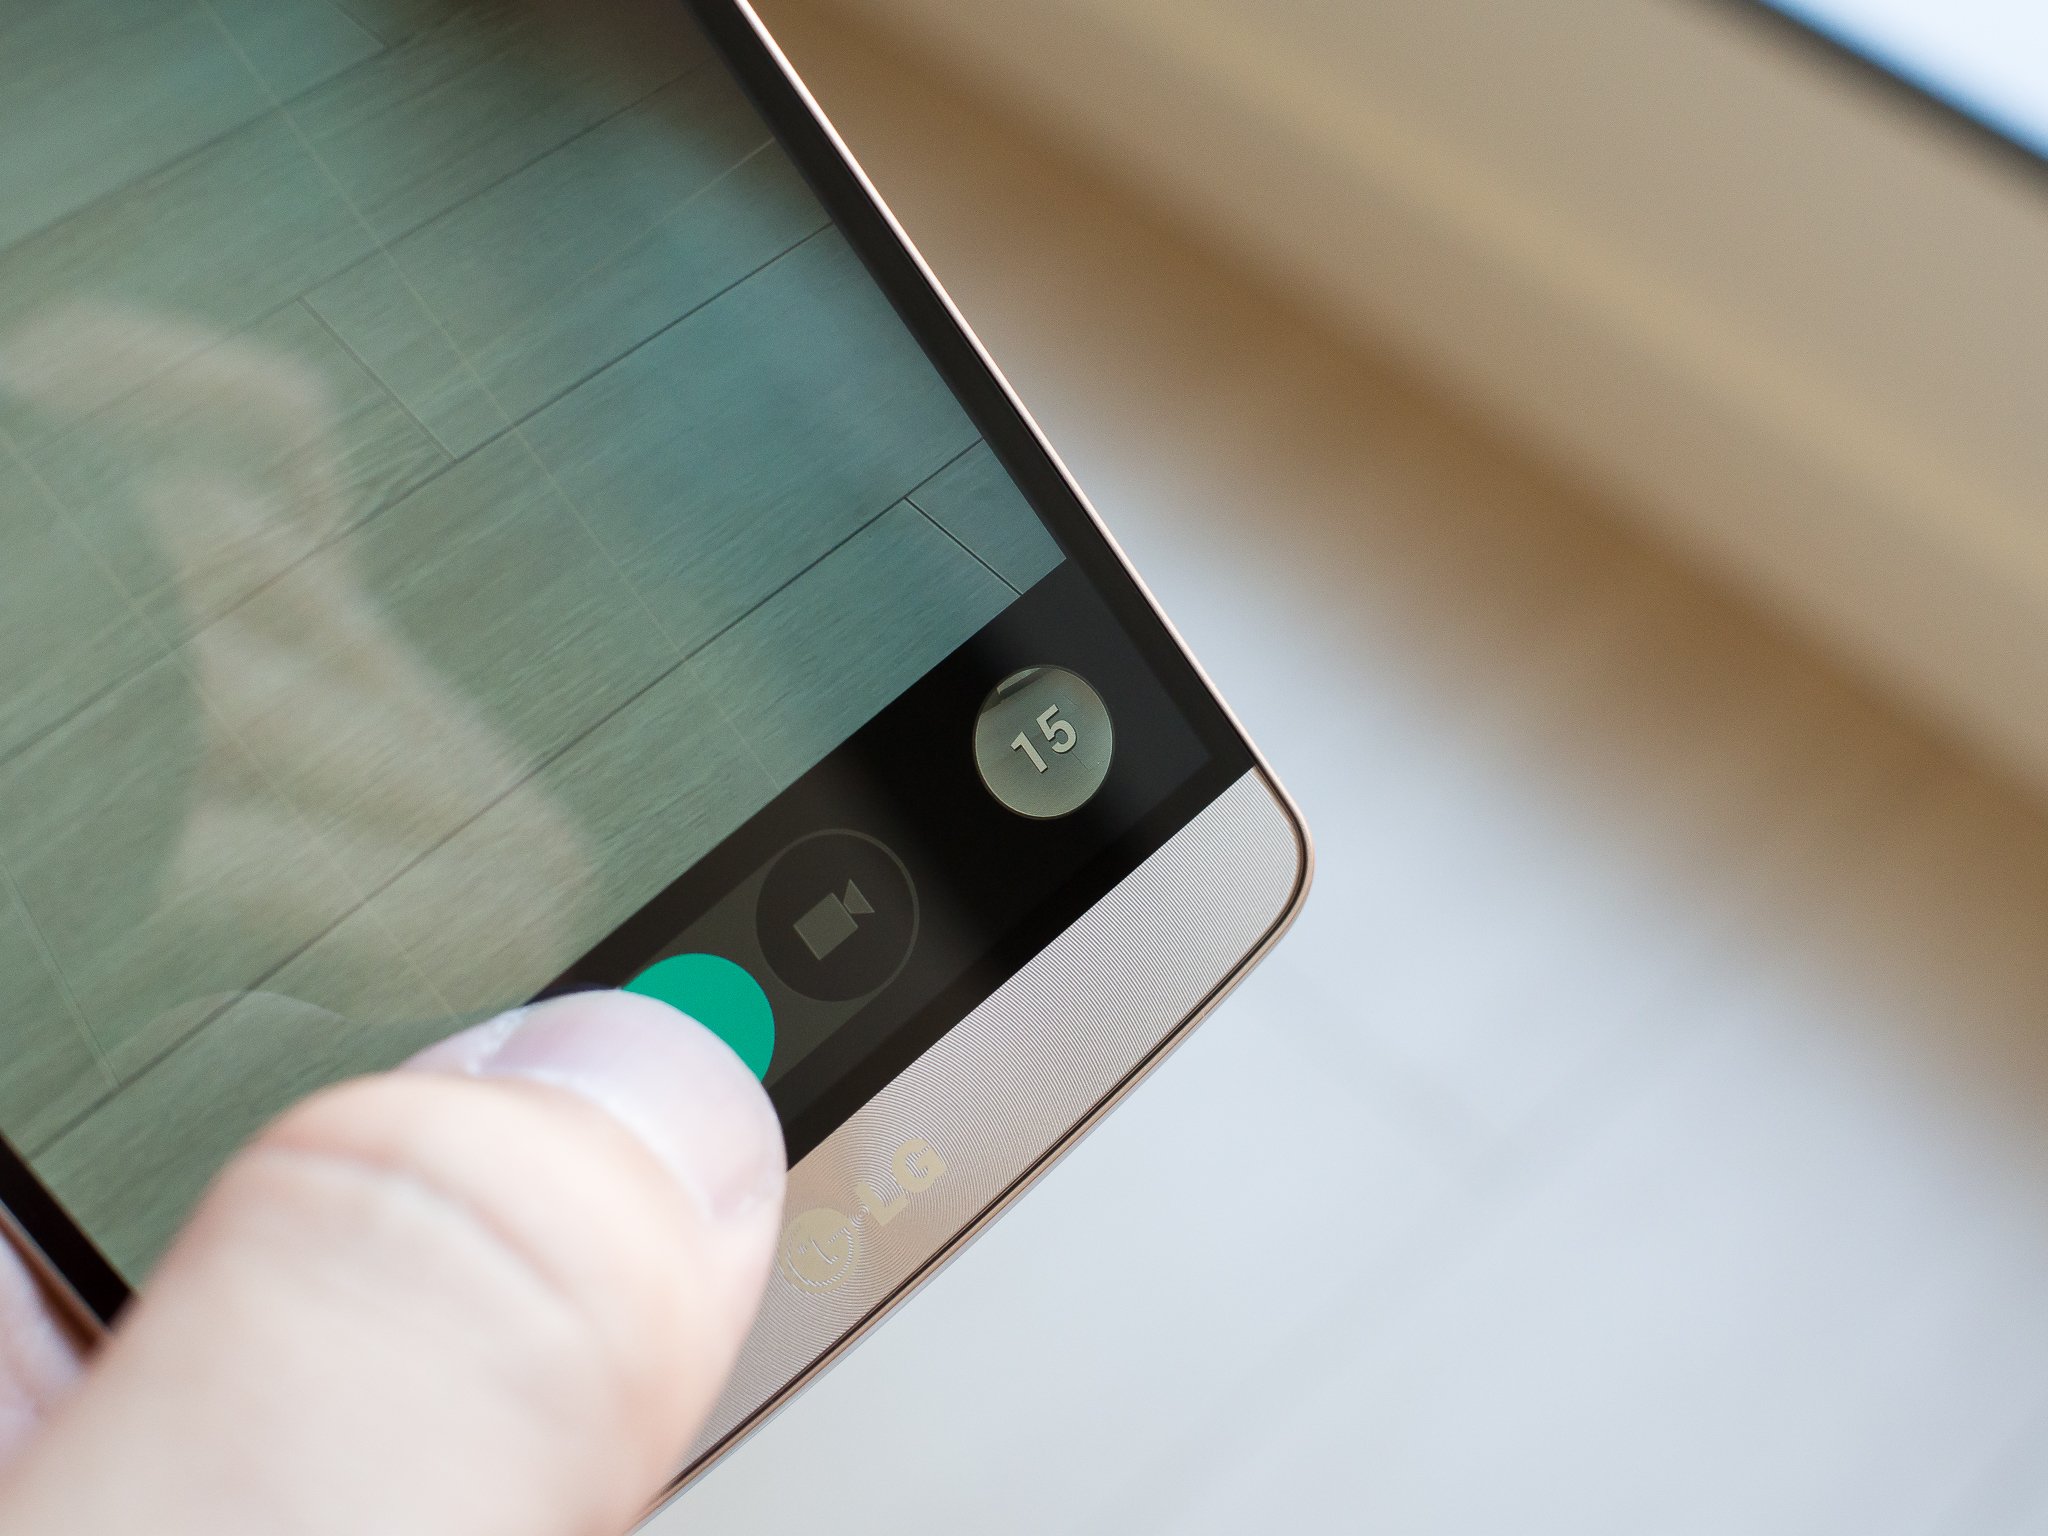
Sometimes when you're taking pictures of a fast-moving subject and just can't miss a single moment, you'll want to take advantage of burst mode. Whenever this situation arises, simply press and hold the shutter key and the phone will take as many shots as possible in succession until you release the key.
When you go to view burst mode photos, they'll be grouped together in the gallery — tap the group to view each frame, and when you find one (or five) that you like, hit the save button to separate it from the group. Be careful here — hitting "delete" from the gallery will delete every shot in that burst if you haven't saved the frames you want.

8. Save your photos and video to the SDcard

LG G3 SDcard
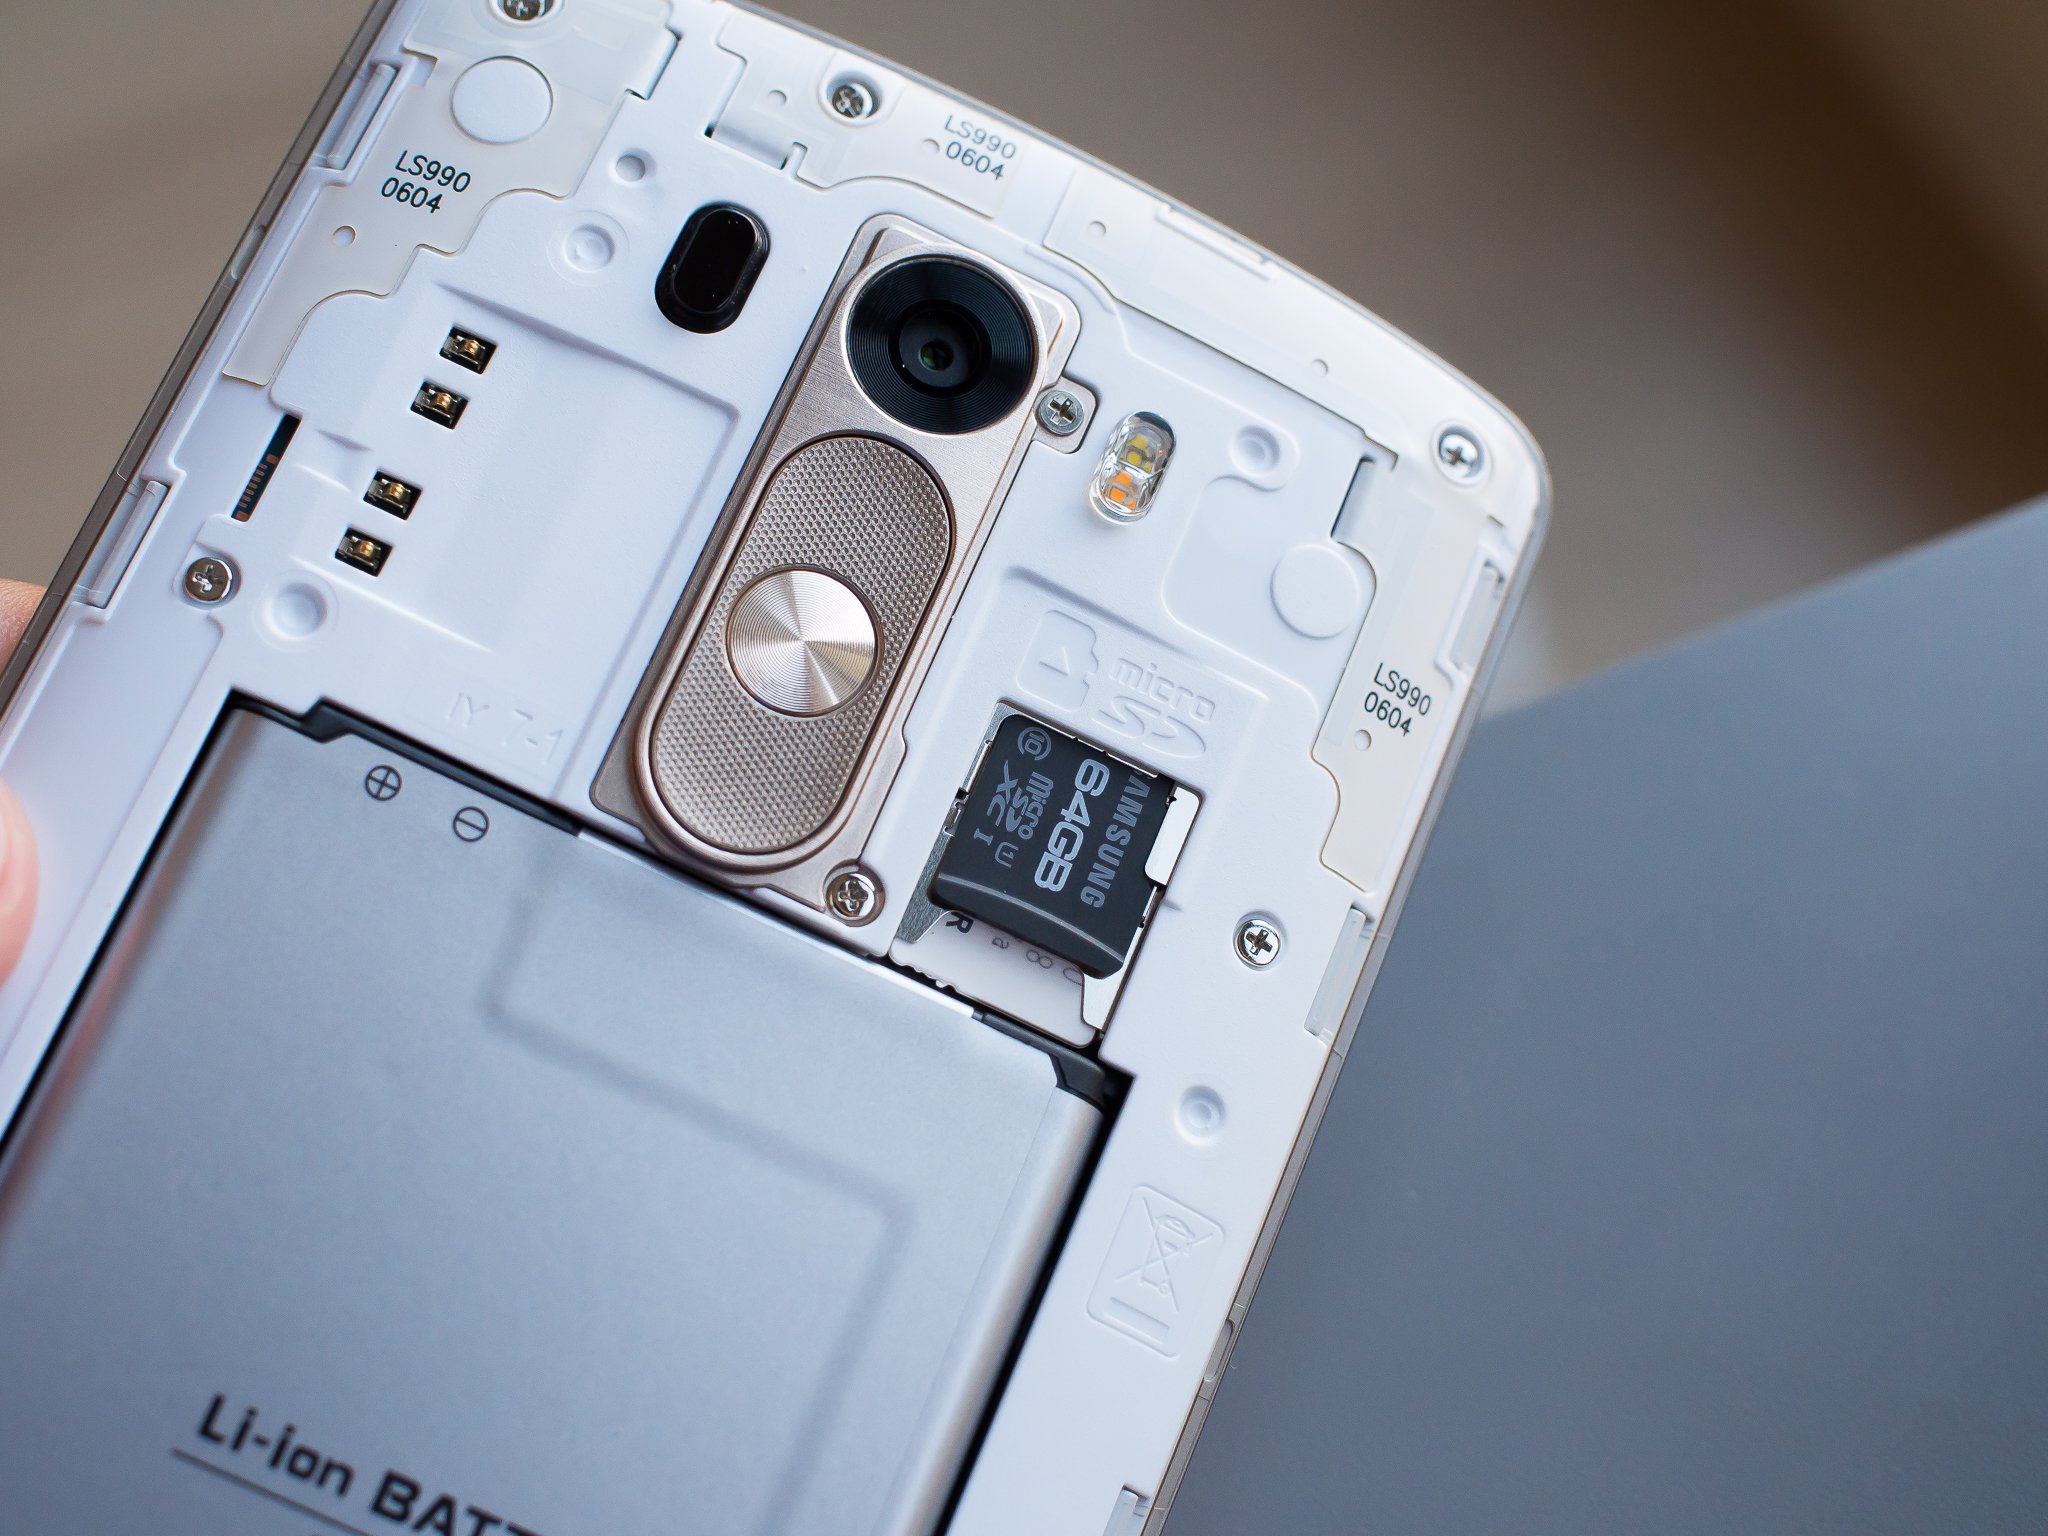
If you've chosen to take advantage of the G3's SDcard slot to expand your internal storage, you'll be able to force the phone to save pictures and video to that external card. After inserting an SDcard for the first time when you launch the camera you'll be given a dialogue box where you can choose to save to the SDcard, but if you happen to change your mind at any point you can quickly switch between internal and external storage.
Hit the gear icon, and tap the bottom (or left in portrait mode) icon to toggle between SD (SDcard) and IN (internal) storage.
For more, see our LG G3 help page, and swing by our G3 forums!

Thursday, July 24, 2014

Tablets and e-readers ready for the classroom by: Sarah Tew and Xiomara Blanco


microsoft-surface-pro-3-product-photos-studio01.jpg
1 of 7

Microsoft Surface Pro 3

If you want a tablet, but you need a laptop, the Microsoft Surface Pro 3 can be that for you. It's essentially a laptop that thinks it's a tablet, with a keyboard that seamlessly attaches and doubles as a cover.
You can use Microsoft Office for writing papers and, with the newly added digipen, you can actually write them instead of typing. The Microsoft Surface Pro 3 is the priciest on this list, but it's also the most capable, if you're looking for a serious workstation.
Samsung Galaxy Note 10.1 (2014 Edition, 16GB, Wi-Fi, jet black)

Samsung Galaxy Note 10.1 (2014 Edition)

For basic productivity tasks and surfing the Web, the Samsung Galaxy Note 10.1 (2014 edition) is capable of both -- at the same time. The 10.1-inch slick slate offers useful features, like multi-window functionality and a stylus, without the added bulk of a keyboard.
Writers will appreciate the S-Pen integration found on the Note 10.1 and the bright, colorful screen is also great for gaming and movies. The Samsung Galaxy Note 10.1 is a high-end tablet for a little bit of work and a little bit of play.

kindlepaperwhite3543828735437744354383133543831202620x433.jpg

Amazon Kindle Paperwhite

A heavy backpack full of books can hurt your posture and cool outfit, so opt for a simple e-book reader instead.
Amazon's Kindle Paperwhite boasts one of the best e-ink displays, with fast refresh rates and an affordable $120 starting price. You can easily buy books from Amazon, or download from online and local libraries.
samsung-galaxy-tab-s-10-4-8820.jpg

Samsung Galaxy Tab S

Time to come clean: do you just want a tablet for binge-watching Netflix original series and playing whatever mobile game you're currently addicted to? Well, there's plenty of tablets you can do that with, but the Galaxy Tab S is the most spectacular.
The Tab S comes in 10.5-inch and 8.4-inch models, and it rocks a super-AMOLED screens with vivid colors and eye-catching contrast. The pixel-packed slate is also a zippy performer with multi-window abilities and tons of free apps and services.

Amazon_Kindle_Fire_HDX_7_35828167-9818.jpg

Amazon Kindle Fire HDX

If you admit you want a tablet for streaming video and games, but want something smaller, the Kindle Fire HDX 7 is a petite slate with smooth performance and Amazon Prime perks.
The small but mighty Fire HDX, which also comes in an 8.9-inch model, features a super-simple user-interface that's easy to navigate and a sturdy, sleek build. You can stream Amazon Prime video if you have a membership, and ordering simple amenities with two-day shipping has never been easier.
Google_Nexus_7_35760689-8329.jpg

Google Nexus 7

If you just need a simple slate for checking e-mail and surfing the Web, the Google Nexus 7 is one of the best options.
The simple 7-inch slate starts at $230, ships with pure Android, and -- since it's a Google branded tablet -- it gets software upgrades as soon as they're available.
Ipad_Mini_Retina_35781422_01_610x407.jpg

Apple iPad Mini

Are you an Apple iPhone addict? They have a tablet for that. The iPad comes in two sizes, but the Mini model appeals to students more, thanks to its compact and portable size.
Those wrapped up in the Apple ecosystem with iTunes music and iOS apps will appreciate the seamless transition to the tablet and, with a sharp Retina screen to match its sleek aesthetic, the iPad remains a popular choice among many.

Sunday, July 20, 2014

20 iPhone tips you'll wish you knew all along by: Sharon Profis


iphonetricks-01.jpg

Close three apps at once


Need to force-close multiple apps fast? At the risk of looking like you're clawing at your phone, you can close up to three apps at once by swiping up with three fingers.
iphonetricks-01.jpg


Quickly shut off the flashlight


Included in iOS's Control Center is access to a flashlight. Once enabled, you can quickly shut it off by using the camera shortcut from the lock screen.
iphonetricks-01.jpg

Hidden bubble level


Leave your lime-green bubble level in the drawer. iOS's built-in leveling tool uses the phone's gyroscope to help you find out if an object is perfectly horizontal (or vertical).
To access it, launch the compass, then swipe right to reveal the level.

iphonetricks-01.jpg
1 of 20

Use bold, italics, and underlining


In some apps like Mail, you can use rich formatting to make text bold, italics, or underlined. But if you don't know it exists, you might miss it.
Just highlight the text you want to edit, and tap the arrow in the copy/paste pop-up. Then, choose "U" to access the formatting options.

iphonetricks-01.jpg

Quickly 'go back'


Unlike Android, the iPhone doesn't have a dedicated "back" button. But, a little-known gesture makes that completely acceptable.
In Messages, Mail, and even Safari, simply swipe right from the edge of the screen to go to the previous window. The gesture even works in some third-party apps like Instagram.
iphonetricks-01.jpg

10 earbud controls


The stock earbuds are full of hidden talents. With them, you can snap a photo, ignore calls, and more. There are 10 shortcuts in total, and they're all outlined right here.
iphonetricks-01.jpg

Create custom vibration alerts


Want to know if your best friend is calling without ever looking at the phone? Buried in the contact settings, a fun option lets you create custom vibration patterns for your contacts.
To do it, go to Contacts, choose a contact, and tap Edit in the upper-right corner.
Then, scroll down and navigate to Vibration > Create New Vibration. In the interactive screen, tap and hold to create a pattern, using long presses for long vibration notes, and so on.

iphonetricks-01.jpg

Lock focus and exposure


When the camera is active, tapping the screen sets the focus and exposure for that object. But, the moment the camera moves, these settings are lost.
To lock the focus and exposure, tap and hold until you see a yellow bar appear at the top of the screen, Even if you change your composition, the focus and exposure will be unaffected.

iphonetricks-01.jpg

Be more frugal with data


If you're watching your data usage, it's a good idea to use a feature introduced in iOS 7: cellular data management.
With this tool, you can decide which apps get to use cellular data, and which apps can load only over Wi-Fi.
Head over to Settings > Cellular to disable cellular data usage for any installed apps.

iphonetricks-01.jpg

Find out what the locals use


When you're traveling, it's a good idea to find out which apps the locals love most -- especially public transportation apps.
To see what locals are downloading, go to the App Store and tap Near Me at the bottom.
iphonetricks-01.jpg
1

Search text messages


Here's another one you might only stumble upon. To find a specific text message, use the search bar at the top of the message interface.
Don't see it? Pull down to reveal it, or tap the top bar.
iphonetricks-01.jpg

Use iMessage overseas


When you're connected to in-flight Wi-Fi or traveling without a data plan, you can still send text messages to iPhone-using friends.
Just head to Settings > Messages and make sure Send as SMS is disabled, and that iMessage is enabled.

iphonetricks-01.jpg

Long-press for more characters


Hidden beneath the unassuming characters of the iOS keyboard is a world of letters and symbols only available with a long-press.
For example long-pressing the dash key reveals em and en dashes, while long-pressing the numeral 0 lets you insert a degree symbol.
iphonetricks-01.jpg

Reveal timestamps


To see when a message was sent, drag the message screen to the left, and the timestamps will be revealed.
iphonetricks-01.jpg

Siri's hidden features


Siri can handle really complex commands. She can even do things like set your alarm, and learn how to properly pronounce names. Get to know all 20 of Siri's hidden talents in this guide.
iphonetricks-01.jpg

Charge your phone much faster


Sometimes you need to charge your phone fast. The fastest way to do that? Airplane mode.
With all sending and receiving of data cut off, your phone will charge much faster. Just be sure to leave the backlight off, too.
iphonetricks-01.jpg

Shoot in burst mode


Thanks to the iPhone 5S's fast processor, the camera now lets you shoot in burst mode, snapping multiple photos per second.
It's great for capturing sports, kids, and special moments you want every bit of.
iphonetricks-01.jpg

Increase battery life


Spotlight is really useful for quickly surfacing data on your phone. In order to do that, however, the tool needs to constantly survey your phone for new data and index it.
To temper the effects on your battery, go to Settings > General >Spotlight and uncheck the items you don't necessarily need indexed.

iphonetricks-01.jpg

Protect your privacy


This tip will save your battery life and your privacy. Far, far into iOS's privacy settings is a setting that, when enabled, sends Apple your location data.
Some people don't care. If you do -- and you want a battery boost while you're at it -- disable the feature. Go to Settings > Privacy > System Services to toggle the option.

iphonetricks-01.jpg

Faster Touch ID recognition


Touch ID seems to have a beef with certain fingers, consistently requiring multiple scans before unlocking the device.
If this sounds familiar, try this: Go to Settings > Touch ID & Passcode. Here, enroll the same finger two to three times by choosing Add a fingerprint.
Doing so will give Touch ID more information about your finger patterns, resulting in a faster scan.

Friday, July 4, 2014

Is T-Mobile's JUMP! plan worth it? By: Tara Donnelly


Early upgrade programs are a big thing in wireless right now, and T-Mobile was the first to get the bandwagon rolling. As part of its ‘Uncarrier’ makeover of 2013, the carrier revealed its JUMP! plans in July of last year (‘JUMP’ being an acronym for ‘Just Upgrade My Phone’).
The JUMP! plan lets customers pay extra each month to be able to upgrade their device sooner and more frequently. But underneath all the marketing hype, is the program really worth it?
We've compared the pros and cons of going with JUMP!, versus sticking to a T-Mobile financing plan without the early upgrade extras.

T-Mobile's Equipment Installment Plan

Because all its plans are contract-free (so the usual two years of cell service to help pay off your device doesn’t apply), T-Mobile gives its customers two options for buying a new cell phone. Customers can either pay full price upfront, and only pay their monthly plan fee going forward (and can cancel any time with no more to pay), or opt for T-Mobile’s Equipment Installment Plan.
Pick this option, and you can take your phone home for $0 down, paying the balance off in 24 equal monthly payments over the next two years. Depending on the handset, you’re looking at an additional $20 - $30 per month on top of your plan cost.
However, if you don’t add on JUMP! enrolment, you won’t be able to upgrade to a new device until your phone’s balance is paid off (so in two years’ time, assuming you stick to the recommended monthly repayment schedule).

T-Mobile's JUMP! at a glance:

Monthly fee$10
Repayment period24 months
UpgradesAny time, provided that 50% of the handset's full price has been repaid.
Subsidy still included in service plan?No
Device downpayment required?Yes
Insurance included?Yes
Available for all plans?Yes
Available fromFebruary 23 2014
Unlike early upgrade programs from rivals Verizon and AT&T, JUMP! works as a separate service from T-Mobile's Simple Choice Plan and Equipment Installment options. No matter which plan or device you select, you'll only pay an extra $10 per month to join JUMP!, and $240 in total over two years.
Customers who sign up for JUMP! can upgrade immediately, as long as they've paid at least half of their phone's full price. There's no limit on how many upgrades a customer can make - so you're free to go wild and upgrade all you like, provided you're prepared to pay half the full price of each phone you select.
But in order to keep an EIP-financed device enrolled in JUMP!, or cancel the JUMP! plan altogether, you'll need to make enough payments to cover 100% of the phone's full retail price - a process which will usually take 24 months. However, T-Mobile says that it will allow customers to make extra device payments in order to upgrade, own their device or cancel service sooner.

What you'll pay: JUMP! vs. EIP vs. buying upfront

The below screenshot will help you to compare how much it will cost you to buy our example phone, the 16GB Samsung Galaxy S5, with and without JUMP! plans (on a $50 Simple Choice Plan).
We've also included what you'll pay over two years if you decide to buy the same handset outright without a financing or upgrade plan.

Things to remember

It's important to note that no matter which phone and plan combination you choose, you'll always pay $240 more over two years on JUMP! than you would for the same phone and plan without an early upgrade option.
A definite plus for T-Mobile customers is that JUMP! is the only early upgrade plan to include cell phone insurance. Your $10 fee each month will cover your phone for loss, theft or accidental damage, and protect your phone's data and apps, with T-Mobile's Premium Handset Protection and Lookout Mobile Security. Without JUMP!, these products cost $8 and $4 per month respectively.
There’s no obligation to stay with JUMP! once you’ve signed on, and you can cancel the service at any time and continue with your T-Mobile plan as normal. However, you won’t be able to re-enrol until you purchase a new device.
JUMP! is available to all new and existing customers on Simple Choice plans within 14 days of purchase of a new T-Mobile phone.